How to Do Halloween Projection Mapping on Your House
A complete walkthrough from someone who's been running house projection shows for years — no experience required, no design skills needed.
You've seen the videos. A dark suburban house, then suddenly the whole front of it comes alive — ghosts drifting past the windows, a giant skeleton reaching over the roofline, pumpkins flickering along the porch railing. It looks like something a production company would build.
It's not. It's a projector, a laptop, and a video file. And you can have it running on your own house this Halloween.
This guide covers everything: what projection mapping actually is, the gear you need, what it costs, how to set it up, and where to get the content that makes it look amazing. By the end you'll know exactly what to buy and what to do.
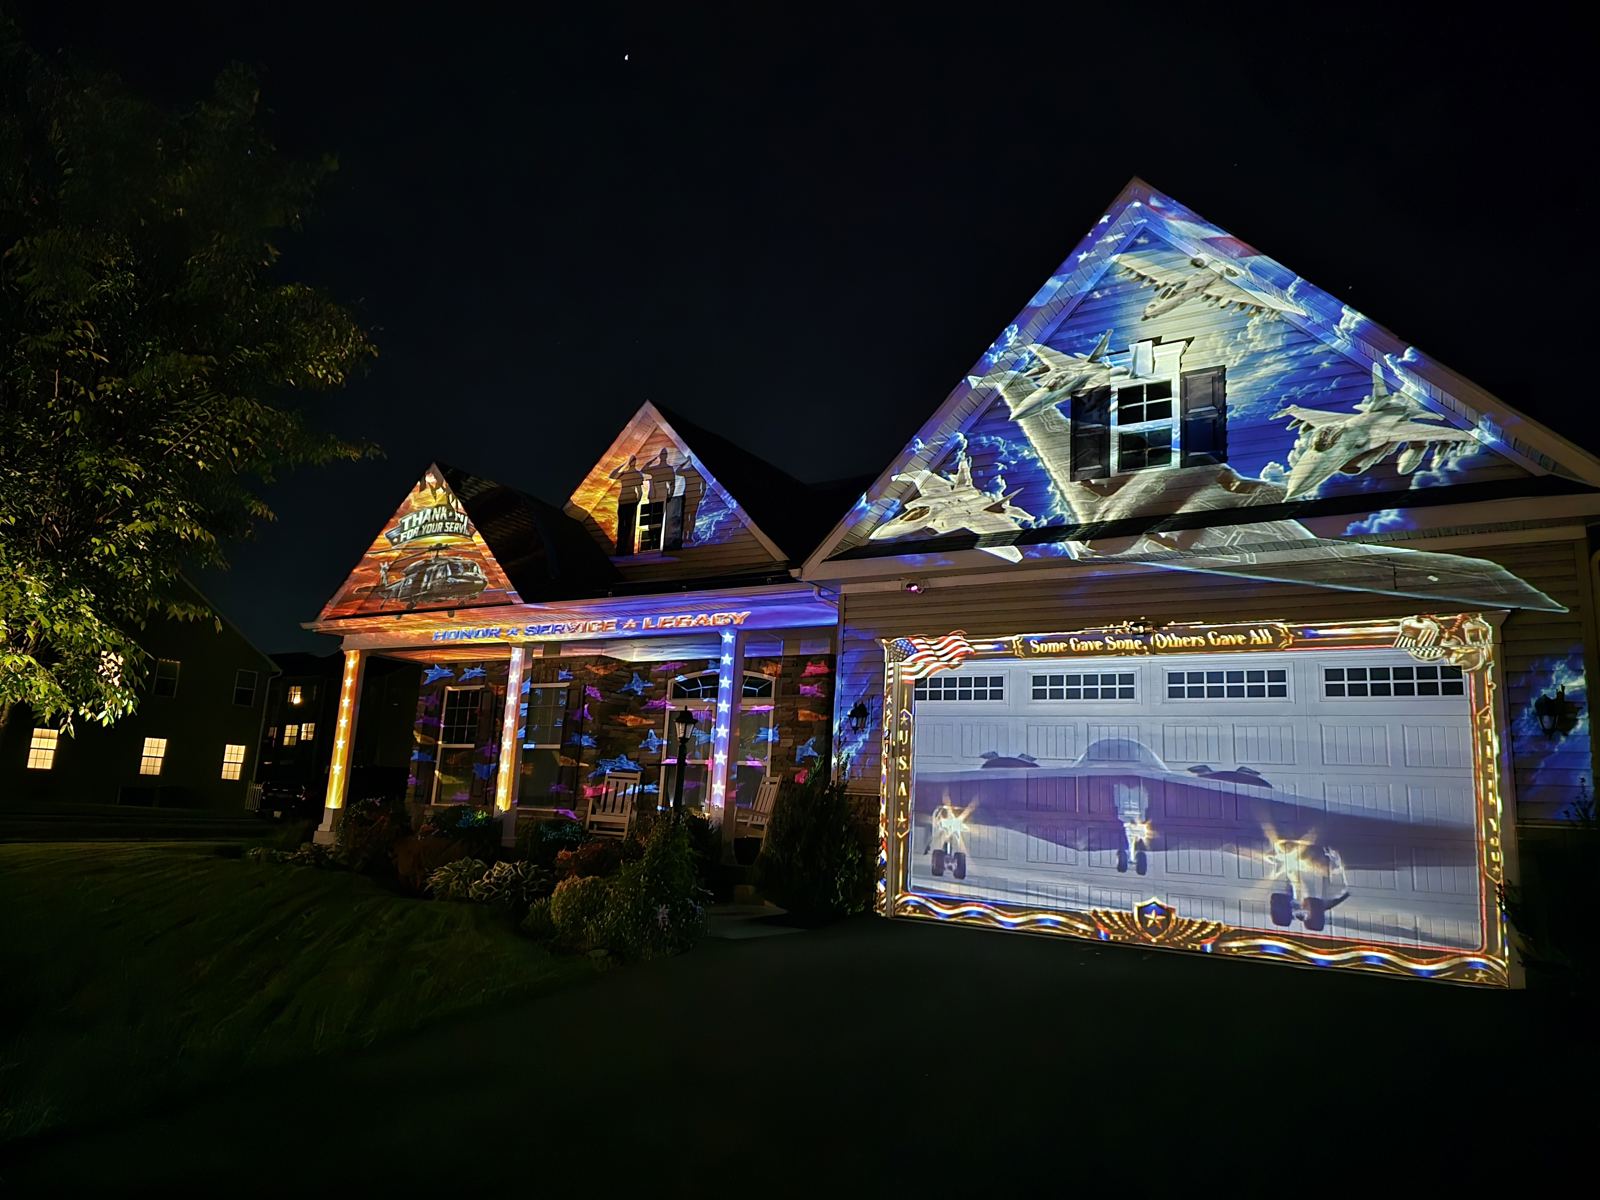
What Projection Mapping Actually Is
Projection mapping is just shining video onto a surface that isn't a screen. Instead of a flat white rectangle, the "screen" is the front of your house — the siding, the windows, the roofline, the porch columns.
The trick is that the video is designed to work with those features rather than fight them. A well-made Halloween projection theme puts a ghost in your actual window, drapes cobwebs over your actual porch, and lets your house's real architecture show through the light. The house stays recognizably your house — it just looks possessed.
You don't need to build a 3D model or learn video editing software. Modern ready-made themes handle the content — you'll use a simple mapping tool to line it up with your house, and that takes an afternoon to learn, not a semester.
What You Need (The Short List)
Five things:
- A projector bright enough to be seen outdoors at night
- A way to play video on it — a laptop, a media player, or even a USB stick
- Something to protect the projector from weather
- The video content — the Halloween theme itself
- Mapping software to line the content up with your house's features
That's the whole kit. No controllers, no custom programming, no professional installation.
Choosing a Projector
This is where most beginners overspend or underspend, so let's be specific.
Brightness is everything. Projector brightness is measured in lumens. Indoor projectors are typically 1,000–2,000 lumens, which looks great in a dark living room and nearly invisible on the front of a house at night. For outdoor projection you want 3,000 lumens minimum, and 4,000+ if you have any ambient light from streetlights or neighbors.
Resolution matters less than you'd think. 1080p is plenty. You're projecting onto textured siding from 20+ feet away — nobody's going to notice the difference between 1080p and 4K, but they'll absolutely notice if it's too dim.
Throw distance. This is how far the projector needs to sit from the house to fill the wall. Most standard projectors need roughly 1.5× the width of the image — so to cover a 30-foot-wide house, the projector sits about 45 feet back. That usually means across the street or at the far edge of your yard. Short-throw projectors can sit much closer but cost more.
Budget reality:
- Under $300: You can find 3,000+ lumen projectors in this range, but check reviews carefully — some brands inflate their lumen ratings.
- $400–$800: The sweet spot. Reliable brands, real brightness, good enough to run for years.
- $1,000+: Professional-grade brightness. Overkill for most houses unless you're on a very bright street or projecting onto a huge surface.
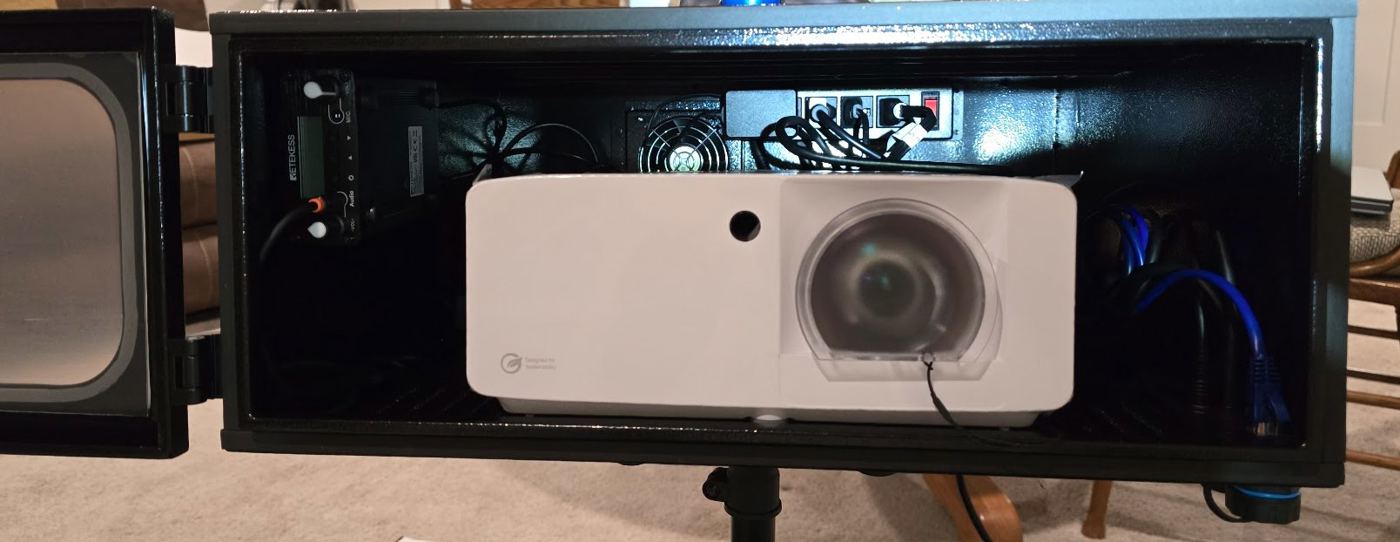
For specific model recommendations with real-world comparisons, see the Rig Build Guide — it includes six projectors tested at different price points, along with the full parts list for a complete outdoor setup.
Playing the Video
You need something to send video to the projector. Three options, simplest first:
USB stick. Most modern projectors have a USB port and can play video files directly. Load the theme onto a stick, plug it in, hit play. Zero cables to the house. The limitation: some projectors are picky about file formats, and you can't do anything fancy like syncing music.
Media player. A small device like an Amazon Fire Stick or a dedicated media player plugs into the projector's HDMI port and plays files from a network or stick. More reliable than USB playback and still simple.
Laptop. The most flexible. Any laptop with an HDMI output can drive the projector, and you can loop the theme in any video player. Downside: you need to run it outside or run a long HDMI cable, and laptops don't love being outdoors in October.
One caveat that changes the answer: if you want the content to actually fit your house — ghost in the window, stripes on the columns — you'll be running mapping software, and that needs a laptop. The USB and media-player routes play the file as-is, which works for a full-wall wash but not for true facade mapping. More on that next.
For a first-year setup, USB or a media player is the easy win. You can always upgrade.
Mapping Software: Making It Fit Your House
Here's the thing nobody tells beginners: playing a video file straight onto a house looks fine. Playing it through mapping software looks like the videos that made you want to do this.
The difference is alignment. Your house has windows, a door, gables, maybe columns. Mapping software lets you draw those shapes on screen, then assign different content to each one — a ghost sized to your actual window, a texture wrapped to your actual column, a scene framed inside your actual gable. The content stops being a rectangle projected at the house and starts being a show built on it.
Start with HeavyM. It's the right first tool for a hobbyist, and it's what I run my own shows on. You draw shapes over a live view of your projector output, drop video and images into them, and adjust by dragging corners until things line up. There's a free version to learn on and a paid license when you're ready to run a real show. The learning curve is an afternoon, not a month — most people have their first mapped scene working the same day they install it.
FacadeThemes packages are built with this workflow in mind. The transparent props, video loops, pillar wraps, and pre-tiled textures are separate files precisely so you can assign each one to the right part of your house instead of fighting a single flat video.
What you'll graduate to, eventually. Resolume Arena and MadMapper are the professional tools — more powerful, more expensive, and considerably steeper to learn. They're worth it if you end up doing this for events or running multi-projector rigs. For a first season on your own house, they're overkill, and starting there is the most common way people get frustrated and give up.
One tool to avoid: anything that requires you to 3D-scan or photogrammetry your house. That technology exists and it's impressive, but for a residential facade it's solving a problem you don't have.
Protecting the Projector
Your projector is going to sit outside for hours, in October, in whatever weather shows up. It needs a home.
The simplest solution is a projector enclosure — a weatherproof box with a glass or acrylic window for the lens. You can buy purpose-built ones or build one from a plastic storage tote. Either way you need:
- A clear window the lens can shoot through
- Ventilation so the projector doesn't overheat (they run hot)
- A way to keep rain off the window, or your image will distort
- Something to anchor it so wind doesn't move it
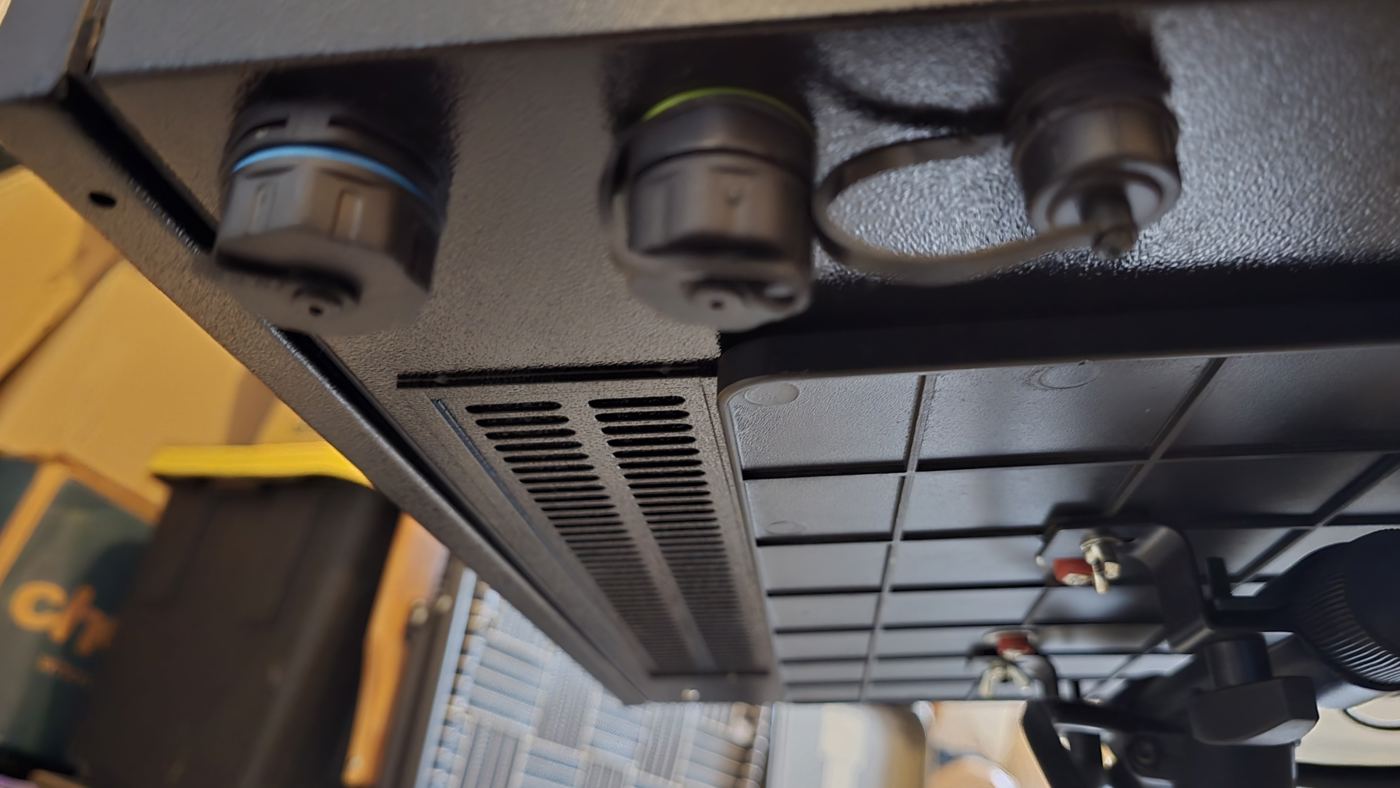
Full enclosure build steps, including the ventilation solution that actually works, are in the Rig Build Guide.
Getting the Content
This is the part that separates a good show from a great one, and it's where most beginners get stuck.
You have three paths:
Make it yourself. Learn After Effects or similar software, source or create the animations, build the compositions. This is a serious skill and takes weeks to months to produce something that looks good. Most people who go this route are doing it because they enjoy the craft, not because they want the show done by Halloween.
Buy generic clips. There are libraries of spooky video loops — floating ghosts, flickering flames, and so on. These work but they're designed for flat surfaces, not houses. You'll end up with a ghost drifting across your gutter and a pumpkin cut in half by a window.
Buy ready-made house themes. This is what FacadeThemes exists to solve. Each theme is a complete package — props, seamless video loops, textures, and soundtrack — built specifically for projecting onto real house architecture. The content is designed so that your windows, columns, and rooflines work with the animation instead of against it.
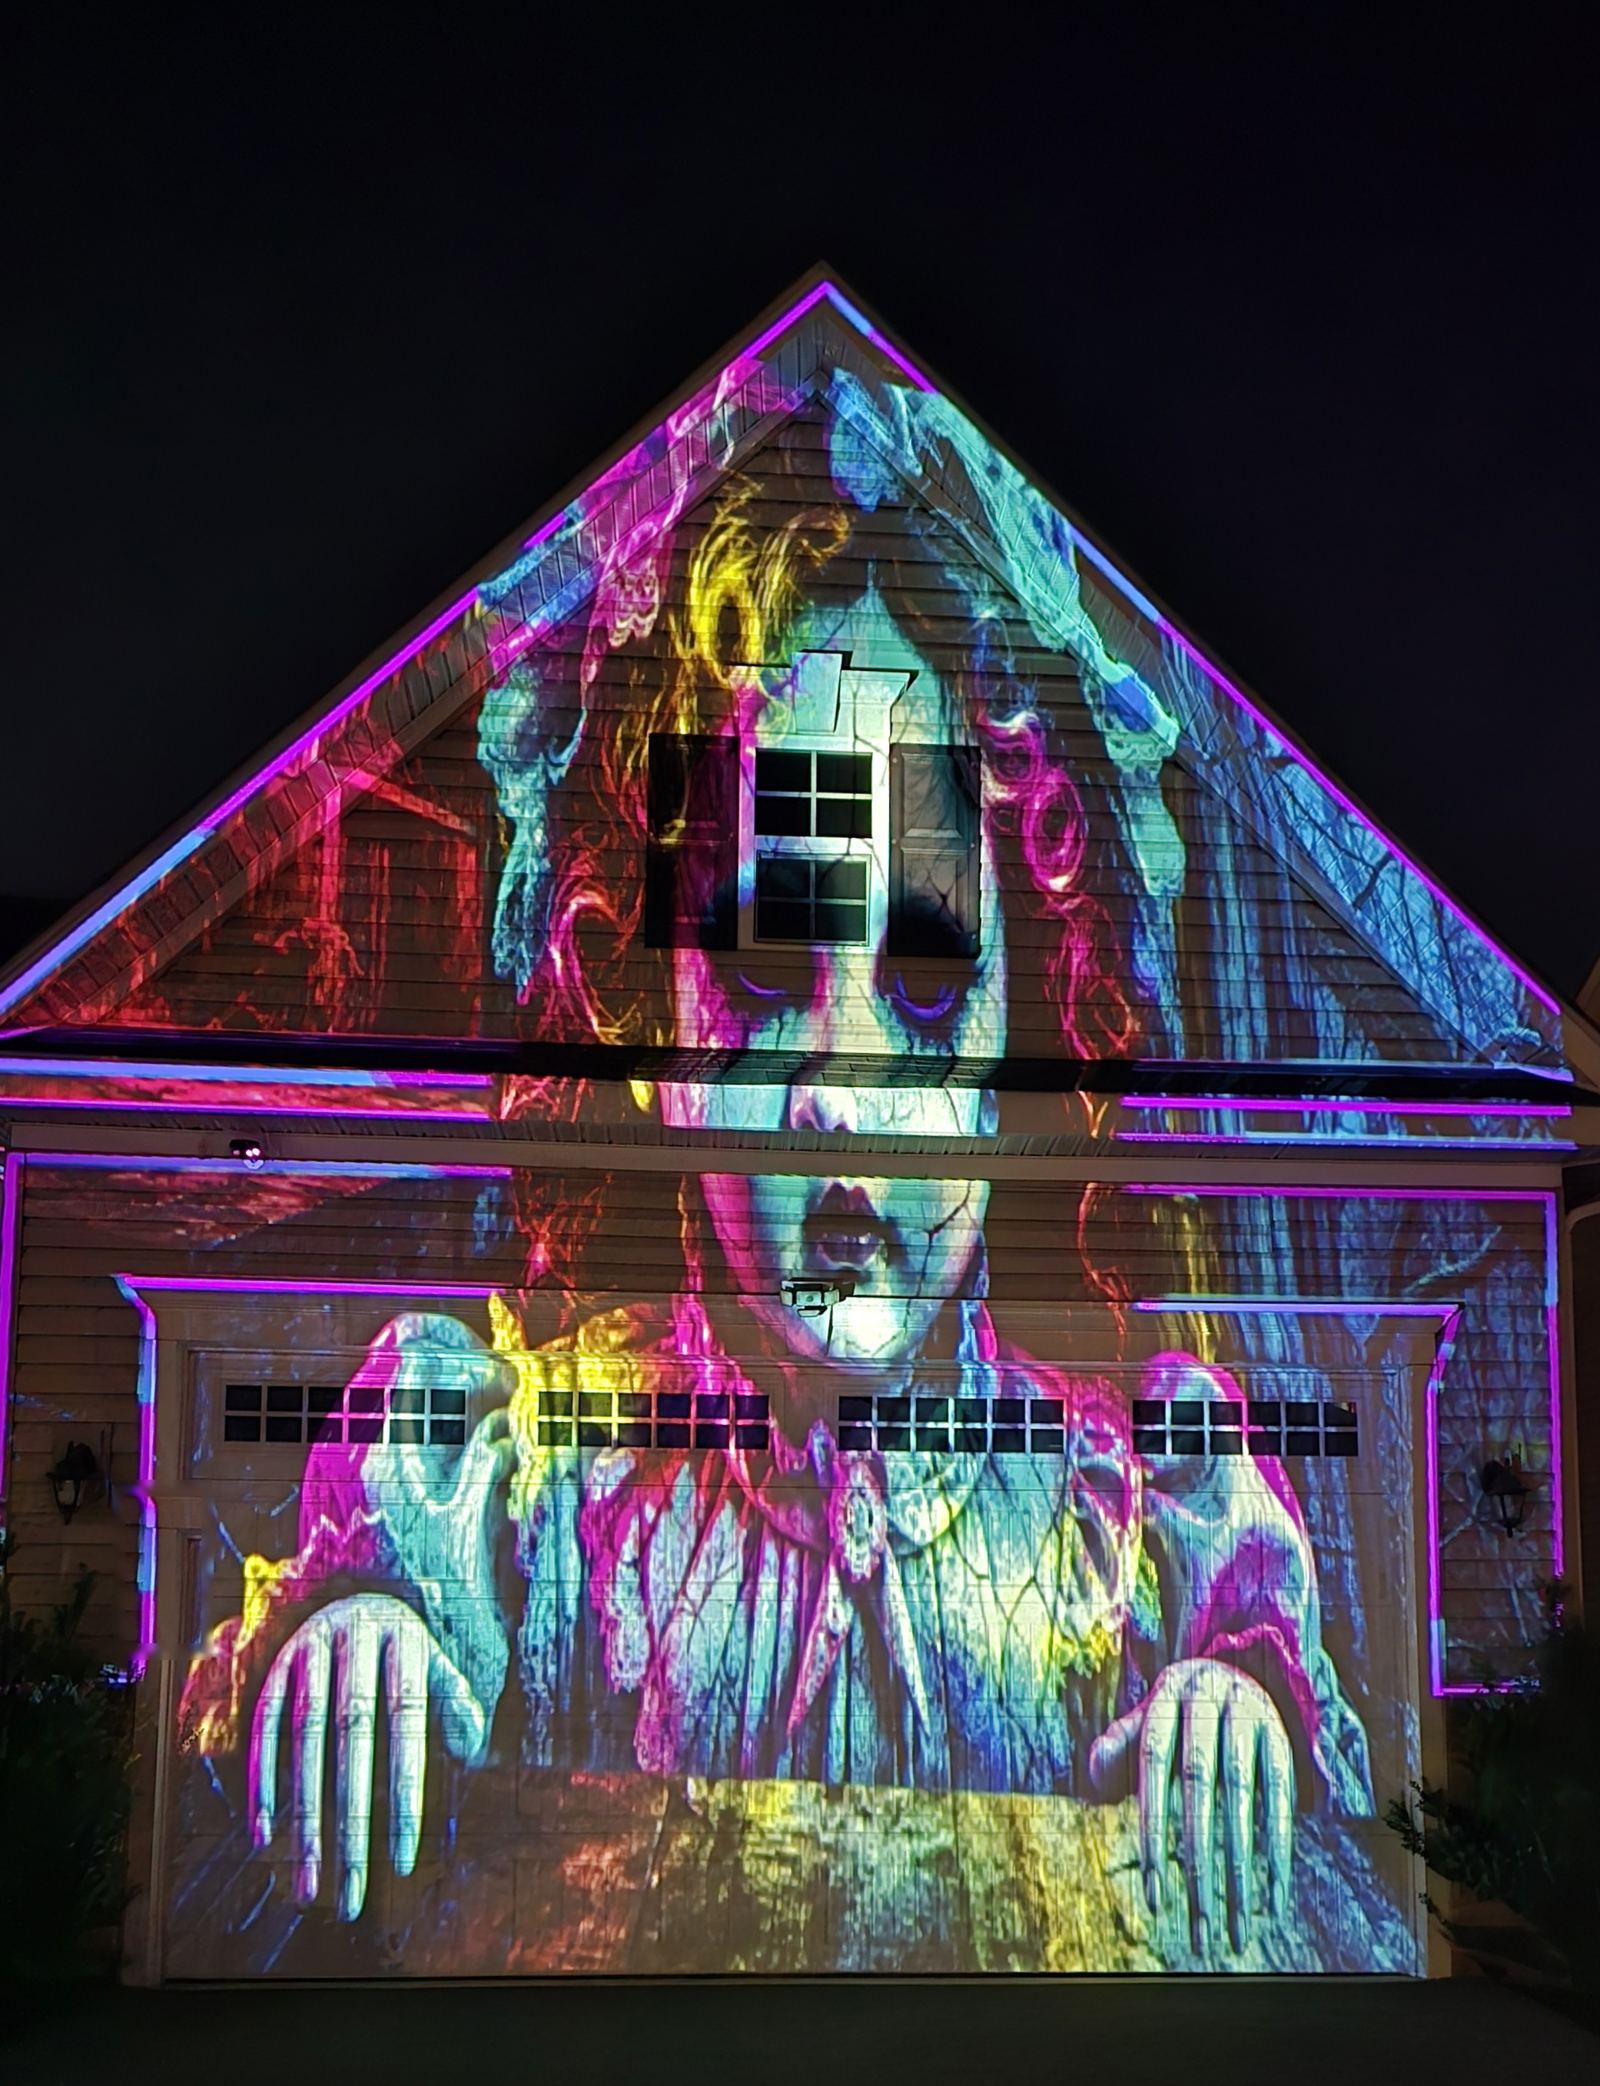
The part that actually matters: see it on your house first.
Before buying any theme, you can upload a photo of your house and see the theme rendered onto it. Free, no download, takes about a minute. You'll immediately know whether the scale is right, whether the scene fits your facade, and whether it's the look you want. Most people who try this end up choosing a different theme than they'd have picked from the thumbnails alone.
Setting It Up (Step by Step)
Once you have gear and content, here's the actual process on the night:
1. Do it in daylight first. Set up the projector, aim it, get it roughly positioned while you can still see. Trying to do this for the first time in the dark is miserable.
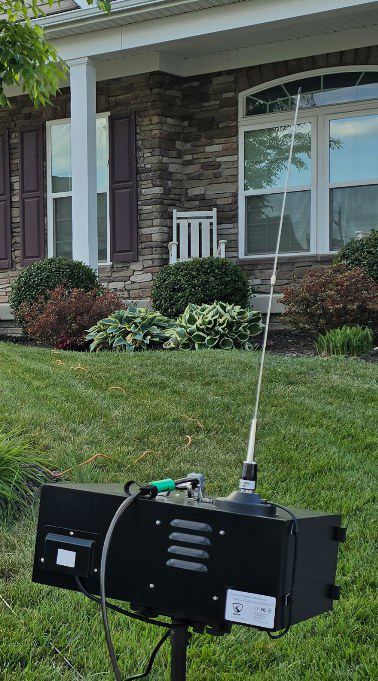
2. Fill the wall. Move the projector back until the image covers the full facade you want lit. Don't worry about it being slightly larger than the house — spill onto bushes and the lawn is fine and often looks intentional.
3. Square it up. Most projectors have a keystone adjustment that fixes the trapezoid distortion you get when projecting at an angle. Use it until the edges are roughly straight.
4. Focus. Adjust until the finest details in the image are sharp. Do this after keystone, since keystone can soften the image.
5. Wait for dark and fine-tune. Once the sun's down, the image will look dramatically different. Adjust brightness, contrast, and position as needed.
6. Loop it. Set your video player to repeat. Most themes are designed as seamless loops so there's no visible restart.
7. Add sound if you want it. A Bluetooth speaker near the projector, or a small outdoor speaker, playing the theme's soundtrack turns a visual into an experience. Keep it reasonable — it's a neighborhood, not a concert.
First-time setup takes an hour or two. After that, it's fifteen minutes a night.
What It Costs
Realistic all-in budget for a first-year show:
| Item | Budget | Mid-range |
|---|---|---|
| Projector (3,000+ lumens) | $250 | $500 |
| Media player or USB | $0–$40 | $40 |
| Enclosure | $30 (DIY tote) | $100 |
| Extension cord, stand, misc | $30 | $60 |
| One Halloween theme | $37 | $48 |
| Total | ~$350 | ~$750 |
Compare that to inflatable decorations, animatronics, or a professional light installation, and it's competitive — and unlike most Halloween decorations, the projector works for Christmas, birthdays, and any other event you want to light up.
The theme is the one thing you'll buy again year to year. The gear you buy once.
Common Mistakes
Buying an indoor projector. It's the #1 reason people say "projection mapping didn't work for me." It worked — the projector was just too dim.
Skipping the enclosure. One unexpected rain shower and the season's over.
Setting up for the first time on Halloween night. Set up the weekend before. You'll find problems you can fix. On the 31st, you just want to hit play.
Using content designed for flat surfaces. This is the difference between "cool projector effect" and "the house is alive." Content built for houses respects the architecture.
Not testing the look before committing. The free preview tool exists exactly for this. Use it.
Ready to Start?
Two next steps depending on where you are:
If you don't have gear yet: The Rig Build Guide has the complete parts list, projector comparison, enclosure build instructions, and photos of a real working setup. Everything you need to buy in one place.
If you want to see what it'll look like: Upload a photo of your house and preview any theme on it. Free, one minute, no commitment.
Questions? Every theme includes a production guide, and the FacadeThemes team answers setup questions from customers directly. This is a hobby we love — we want your show to work.